
Creating Custom Christmas Flatware Sleeves is a beautiful way to personalize your holiday table. If you buy your flatware sleeve, like I did, it’s just a matter of adding on some Cricut vinyl. This was a fun and easy Cricut Project to add a touch of festive charm to my table!
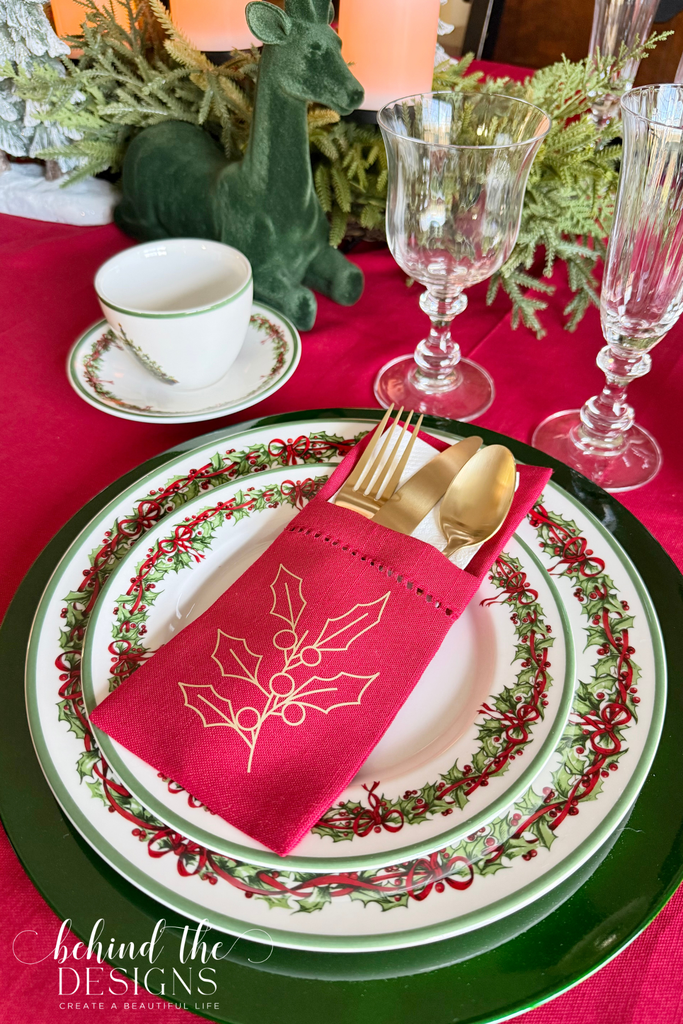
I’ve been a holiday girl at heart since birth! I love all things holidays and Christmas. It should come as no surprise then that I also love a good Christmas tablescape. I’ve had these Spode Christmas Wreath dinnerware sets for over two decades now and they’ve adorned our Christmas table and gatherings ever since.
While I don’t have Christmas tablescapes pictured that far back, I did share Easy Christmas Tablescape Ideas where you can see they’ve been a staple for our holiday gatherings. I love building a beautiful tablescape each year to compliment this special dinnerware.
JOIN MY NEWSLETTER TO RECEIVE…
More Cricut Projects & Ideas for Your Home and Planner
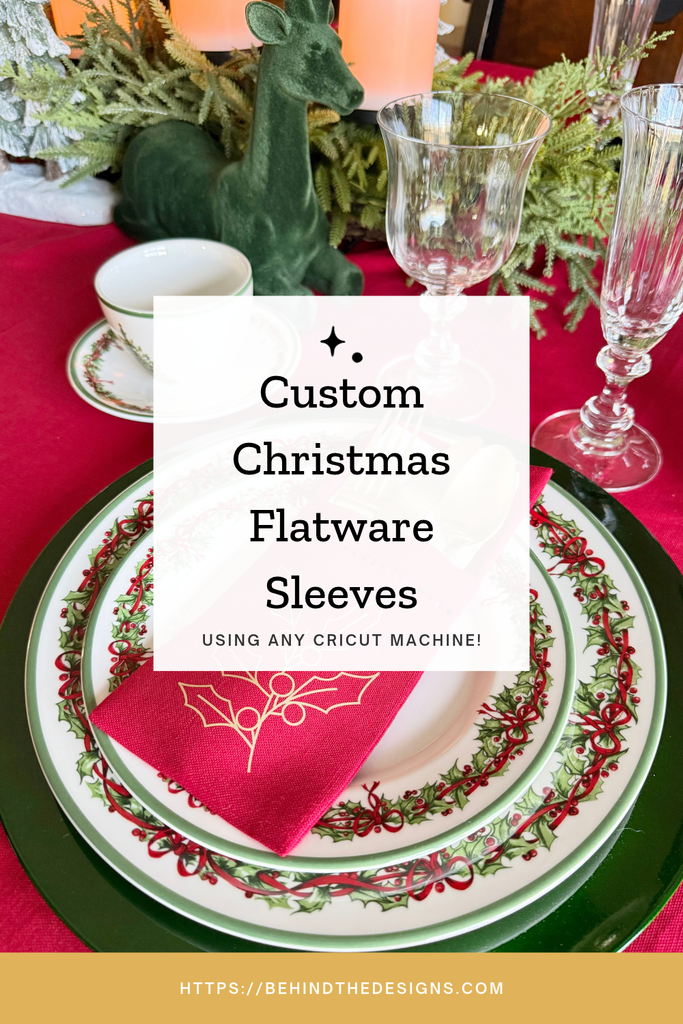
This year I decided to expand on the holly and ribbon design of my Spode Christmas dishes and create coordinating flatware sleeves and red tablecloth. I made this Cricut Project even easier by picking up both the red tablecloth and flatware sleeves from Hobby Lobby.
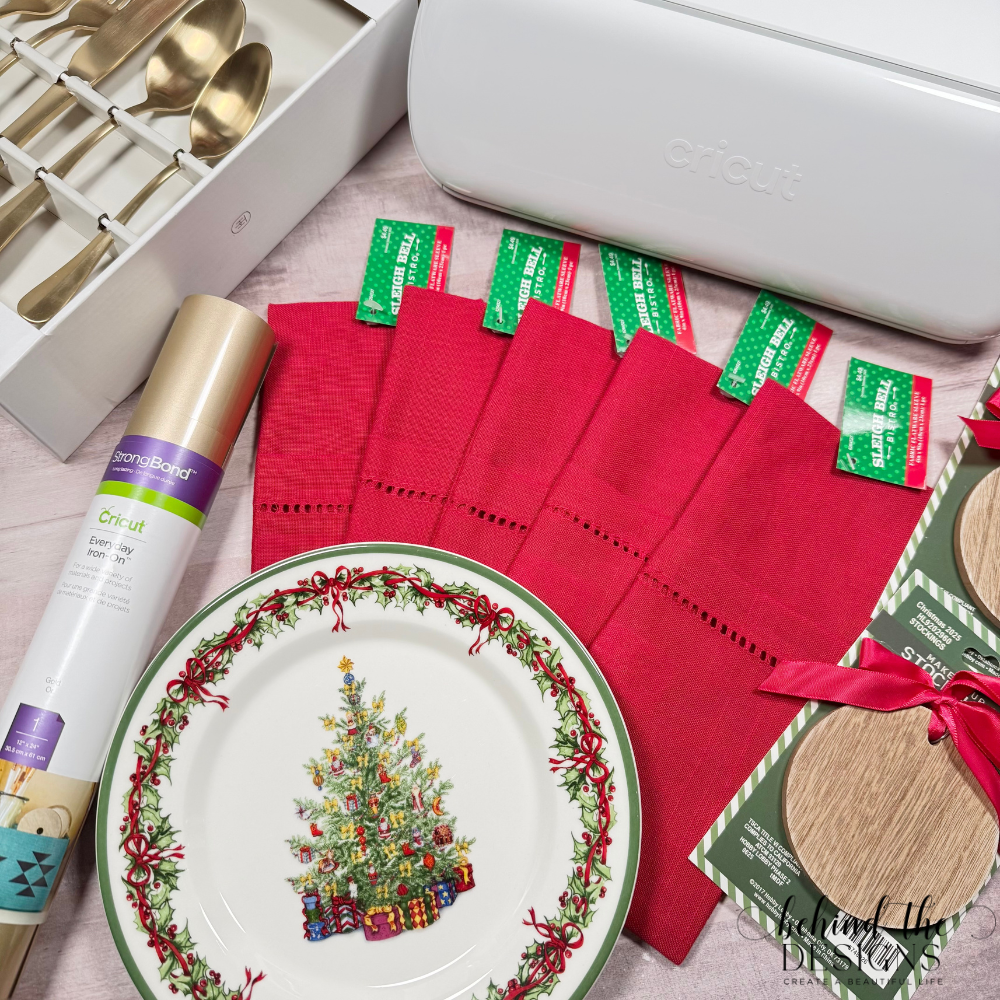
Supplies
- Sleigh Bell Bistro Red Fabric Flatware Sleeve (Hobby Lobby #6264527)
- Cricut Everyday Iron-On Vinyl in Gold
- Cricut Explore – Cricut Joy – Cricut Joy Xtra
- Cricut Cutting Mat
- Cricut Brayer
- Cricut Weeder Tool
- Cricut Scraper Tool
- Cricut EasyPress
Be sure to check out my Amazon Storefront for some or all of the supplies used in this project and more.
Custom Cricut Flatware Sleeve
This was the first year I had ever used flatware sleeves, also called cutlery holders and utensil holders. You could absolutely create from scratch Cricut cutlery holders using fabric or paper. To keep this project quick and easy, I chose to purchase the flatware sleeve already assembled.
Before adding any Cricut iron-on vinyl be sure to iron your fabric flatware sleeve. It’s also a good idea to run a hair remover roller over your project to get any pesky strands off before ironing-on any vinyl.
For this Cricut Project I sized my holly branches to 3″ x 3.82″. Once cut out from the gold vinyl I weeded the design and warmed up my Cricut EasyPress Mini.
Holiday Decor Ideas
Find more holiday decor ideas to create a festive home for any upcoming holiday celebration.
I pressed the first flatware sleeve using the Cricut EasyPress Mini and that didn’t work out (see below for the detail on that mess!). So I got out my 9 x 9 Cricut EasyPress warmed it up and pressed the remainder of the flatware sleeves without issue.
Now I have coordinating Christmas flatware sleeves to my Christmas tablecloth and and added benefit is it matches our Christmas dinnerware!
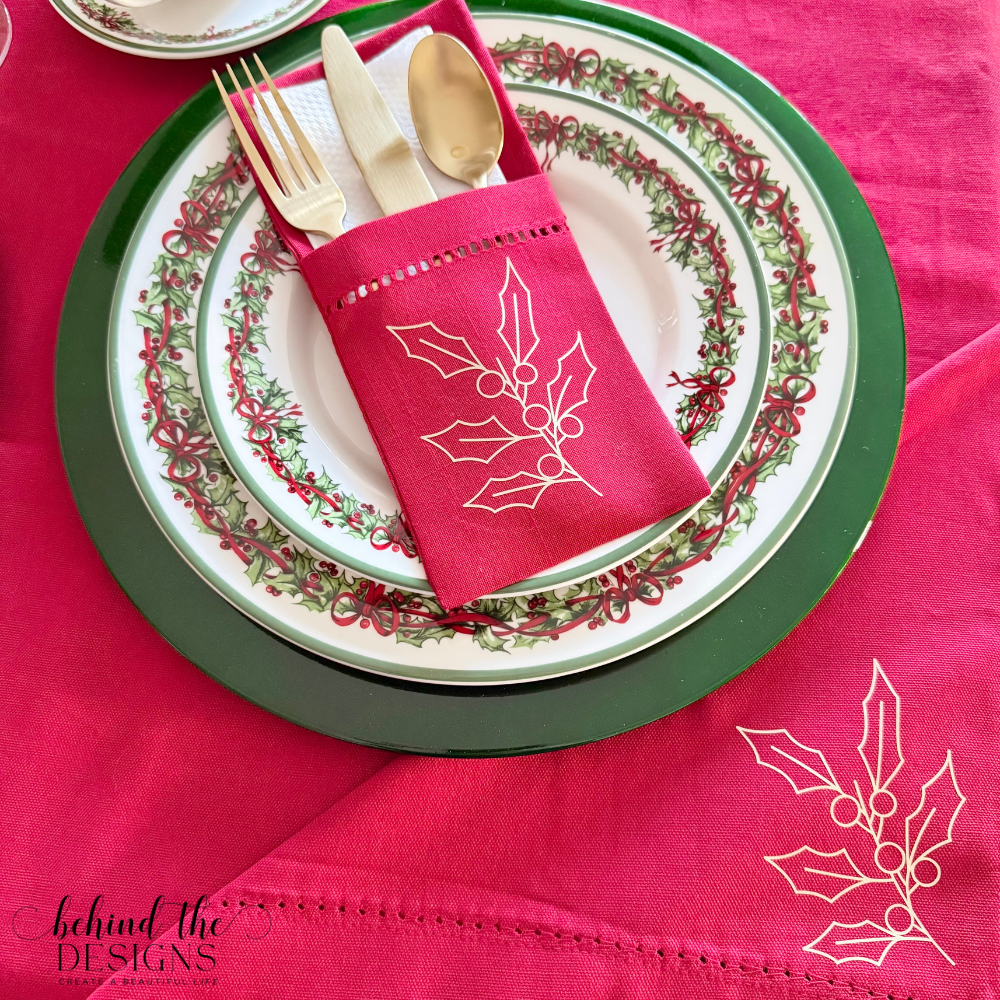
My persistence paid off because our holiday tablescape turned out beautifully!
Lessons Learned
Using a gold vinyl iron-on isn’t a problem…unless you use the wrong Cricut EasyPress! This was one of the lessons I learned when I created this Cricut Project. I started with using a Cricut EasyPress Mini. I figured the design was small enough that it should work…right?!
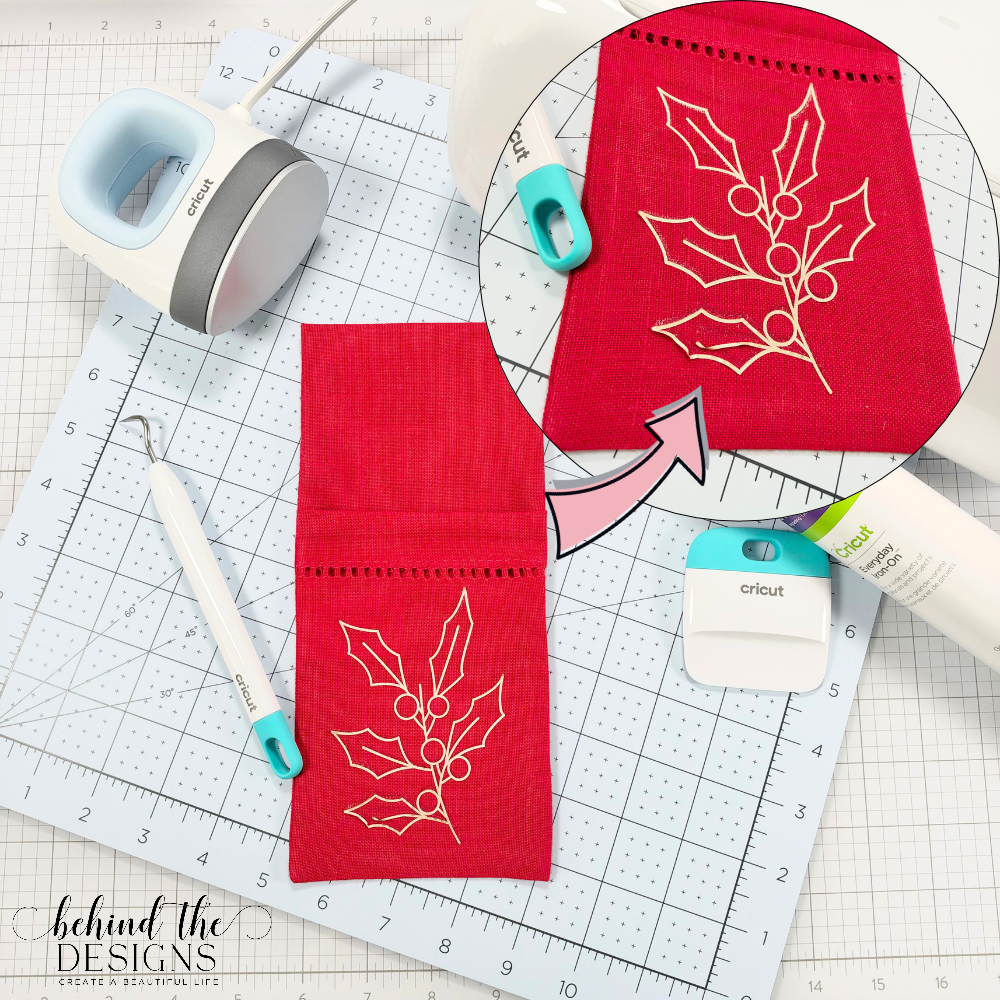
For whatever reason, the Mini press didn’t work this time. Maybe it was because of the fabric which is 100% polyester? Regardless, I kept pressing the vinyl to the sleeve hoping it would eventually iron down…but it didn’t. So for the remainder of the flatware sleeves I used my Cricut EasyPress 9 x 9 and that worked perfectly.
Another lesson I learned is to buy extras of your project blank! My iron-on attempts ruined one of the flatware sleeves and I didn’t have an extra one. So, one place setting was without a flatware sleeve. Lessons learned.
Do You Love To Plan?
I invite you to join the Creative Planning Expressions Community and be inspired by all the planner pages, tips and productivity hacks. Also be sure to share your own planner pages and experiences -we’d love to learn from you too!

Want to always be in the know? Be sure to subscribe to the newsletter to receive emails of all the latest blog posts and get the first scoop about any digital printables and freebies.
Join me on Instagram, Pinterest, Facebook and the Creative Planning Expressions Community to see what I’m up to as I Plan One Beautiful LifeTM!

Get 10 Tips To Simplify Your Planner
Whether you are downsizing your planner or just need a new direction and reset for a new quarter.

Behind the Designs planner printables are designed as planning tools to help you stay organized & eliminate overwhelm. Explore the Shop →